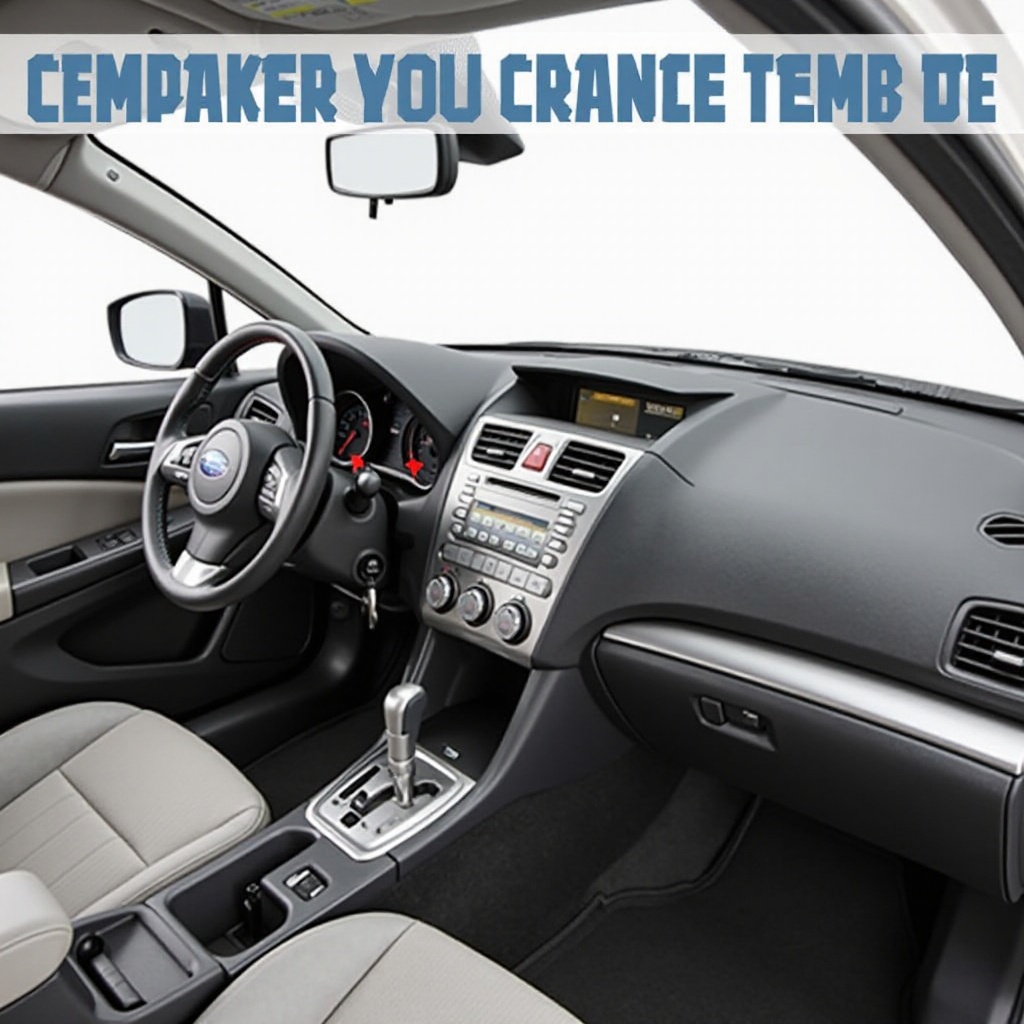
How to Remove the Old Camera from a 2015 Subaru Impreza Sedan
Introduction
Removing the old camera from a 2015 Subaru Impreza Sedan may seem daunting at first glance. However, with the right tools and some guidance, you can complete this task by yourself without needing to pay for professional services. Whether the camera is malfunctioning, you want to upgrade to a better model, or you simply wish to remove it, this comprehensive guide will walk you through the entire camera removal process. By following these steps, you’ll be able to remove the old camera safely and efficiently, ensuring your car remains in pristine condition.
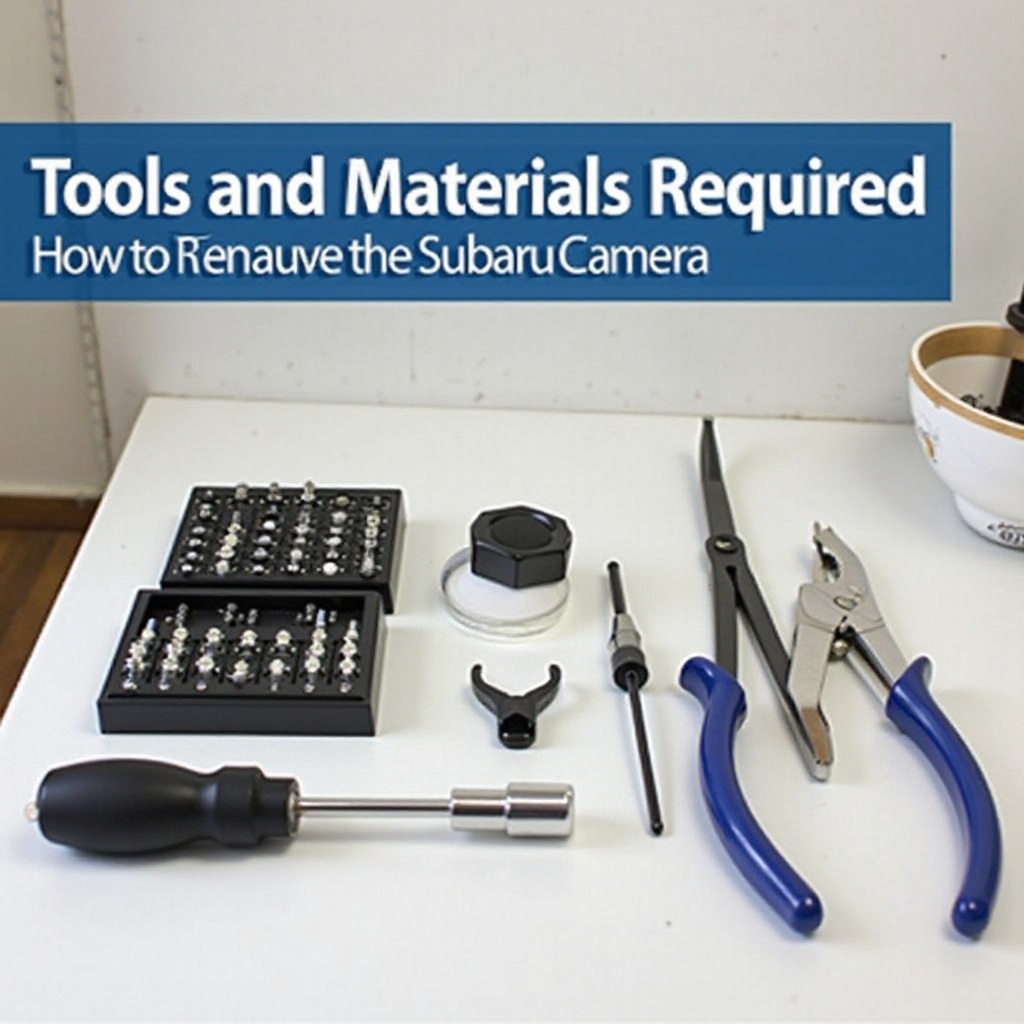
Tools and Materials Required
Before beginning the removal process, it’s crucial to gather all necessary tools and materials. Having everything laid out and within reach will save time and reduce frustration.
The tools you’ll need include:
– Screwdrivers (Flathead and Phillips)
– Trim removal tool
– Socket wrench set
– Needle-nose pliers
You might also find the following materials helpful:
– Container for screws and small parts
– Soft cloth or protective covering
– Replacement camera (if installing a new one)
Preparing these tools and materials ahead of time will make the removal process smoother.
Pre-Removal Preparations
Preparation is vital to ensure the removal process goes smoothly without any damage to your vehicle. Following these preparatory steps will help ensure a safe and efficient experience.
- Park Safely: Make sure your Subaru Impreza is parked on a flat, stable surface and the engine is turned off. Engage the parking brake to prevent the car from moving.
- Disconnect the Battery: Safety is paramount. Disconnect the negative terminal of the car battery to avoid any electrical mishaps while working on the camera.
- Clear the Area: Open the trunk and clear out any belongings that may obstruct your workspace. The cleaner your workspace, the easier the process will be.
With these preparations, you are now ready to start the camera removal process.
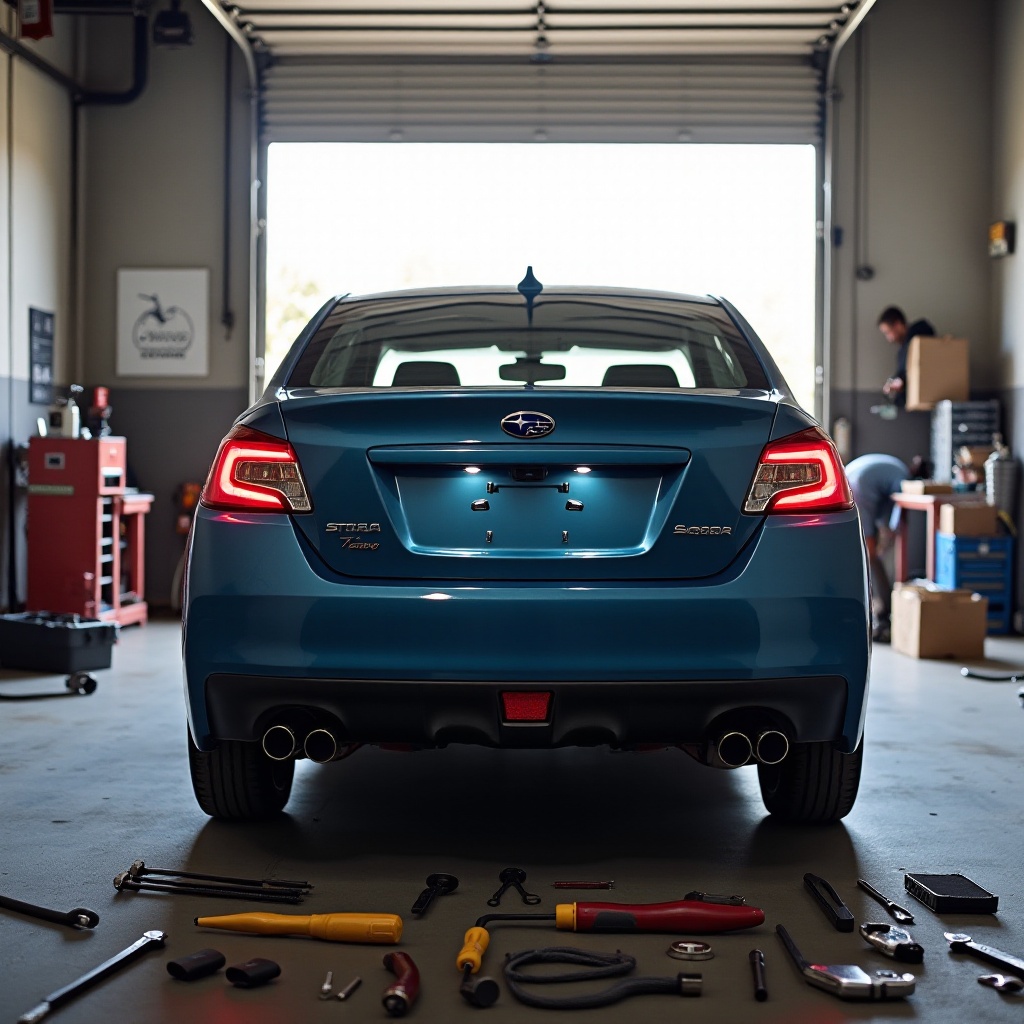
Step-by-Step Camera Removal Process
Removing Interior Paneling
- Locate the Interior Panels: The first step is to access the interior panels within the trunk area of your Subaru Impreza that cover the camera wiring.
- Use Trim Tool: Use a trim removal tool to carefully pry off the interior panels. Be gentle to avoid damaging any clips or the panels themselves.
- Remove Screws and Clips: Depending on the model, you might need to remove screws or clips holding the panel in place. Use the appropriate screwdriver or socket wrench.
- Store Screws Safely: Place all screws and clips in a small container to ensure you don’t lose any, which will be needed to reattach panels later.
Disconnecting the Camera Wiring
- Locate the Camera Wiring: Follow the wiring from the camera to its connection point inside the trunk.
- Disconnect Wiring Harness: Carefully disconnect the wiring harness connected to the camera. Use needle-nose pliers if needed to release any clips.
- Inspect Wiring: Inspect the wiring for any damage. If you plan to install a new camera, it’s essential that the wiring is intact and functional.
Carefully Extracting the Camera
- Identify Camera Mounting Screws: Locate and remove the screws or bolts securing the camera to the vehicle. These are usually accessible from the trunk area.
- Gently Extract the Camera: Once the screws or bolts are removed, carefully pull the camera out. Be cautious not to tug on any wiring that could still be connected.
- Clean the Area: With the camera removed, clean the mounting area to ensure there’s no debris or dirt. This will be particularly important if you’re installing a new camera.
This detailed process ensures the camera is removed without damaging the vehicle’s body or electrical system.
Handling the Old Camera
After removal, handle the old camera with care. If it’s malfunctioning and you won’t repair it, ensure it’s disposed of properly in an electronics recycling facility. If you plan to install a new camera, store the old one securely until then. Always avoid dumping electronic components, as they contain materials that can be hazardous to the environment.
Troubleshooting Tips
Sometimes, issues can arise during the removal process. Here are a few troubleshooting tips:
- Camera Stuck: If the camera is stuck, make sure you’ve removed all screws and disconnected the wiring properly. Apply gentle pressure and use a trim tool if necessary.
- Wiring Issues: Check for any hidden clips or fasteners that might be holding the wiring in place. These can often be the cause of difficulties in the disconnection process.
- Paneling Difficulties: Ensure that all screws and clips have been removed before trying to force the panel off. Extra caution will prevent any breakages.
Conclusion
Removing the old camera from a 2015 Subaru Impreza Sedan may seem challenging, but with careful preparation and adherence to the steps outlined, it can be a straightforward task. Always handle the process with patience and caution to avoid any potential damage to the vehicle. By following the instructions provided, the camera removal process will be smooth and successful.
Frequently Asked Questions
What should I do if the camera is stuck?
If the camera is stuck, double-check to ensure all mounting screws and wiring connections have been removed. Apply gentle prying pressure using a trim tool and make sure no adhesive is obstructing the removal.
Is it safe to remove the camera myself?
Yes, it is safe to remove the camera yourself as long as you follow proper safety procedures such as disconnecting the battery, taking your time, and using the right tools. If unsure, consult with a professional.
How do I know if the new camera is compatible?
Verify that the new camera is compatible with your 2015 Subaru Impreza Sedan model. Check the specifications provided by the camera manufacturer and ensure the wiring and mounting points match those of the old camera.